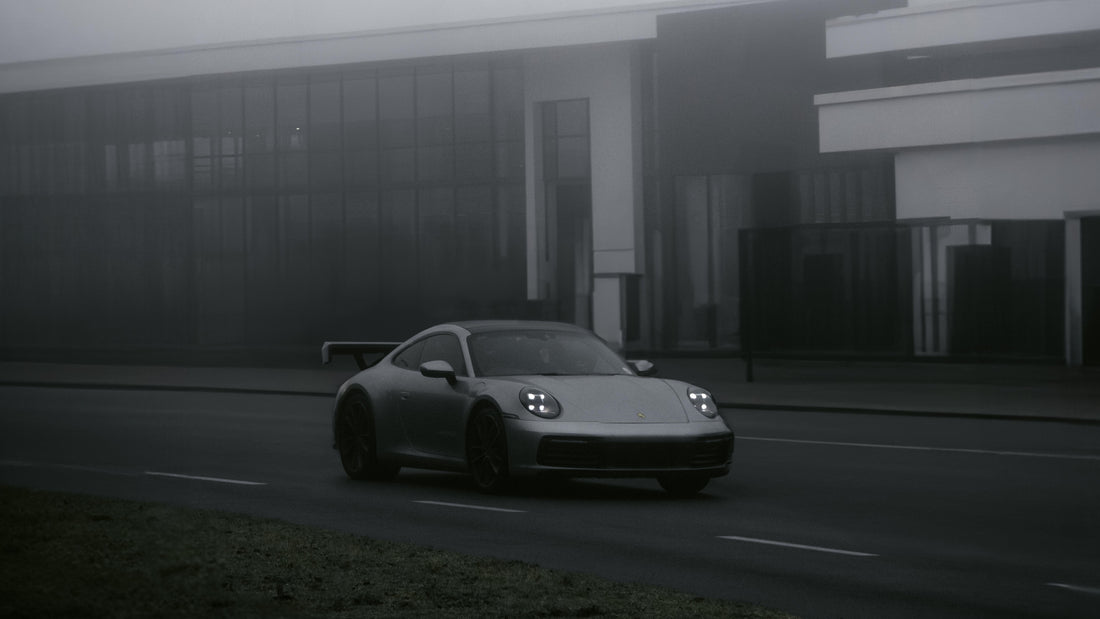
Mastering the Art of Dark and Moody Editing in Photography 10 Pro Tips
Share
Presets Available Here For Professional Editing
Photography is not just about capturing moments; it's also about conveying emotions and creating a mood through your images. Dark and moody photography is a popular style that can add a touch of drama, mystery, and depth to your photos. In this blog post, we will explore the world of dark and moody editing in photography and how you can use it to create stunning and evocative images. Whether you're a professional photographer or a hobbyist, these techniques can take your photography to the next level.
What is Dark and Moody Photography?
Dark and moody photography is characterized by its use of deep shadows, rich, muted colors, and a sense of mystery or melancholy. This style often evokes feelings of drama, introspection, and depth. It's a departure from the bright and cheerful aesthetics of traditional photography, and it can be a powerful way to tell a story or convey a mood.
Now, let's dive into the steps to achieve this captivating style in your own photography:
- Start with the Right Shot
The foundation of dark and moody photography is capturing the right shot. Look for scenes with interesting lighting, strong contrasts, and elements that can be emphasized with shadow and darkness. Subjects like portraits, landscapes, and still life can all benefit from this style.
- Shoot in RAW
To have more control over your editing, shoot in RAW format. RAW files contain more data and allow for greater adjustments in post-processing, which is crucial for achieving the dark and moody look.
- Select the Right Editing Software
Choose a photo editing software that gives you the tools you need for dark and moody editing. Adobe Lightroom and Photoshop are popular choices, but there are also many other excellent options available.
- Adjust Exposure
Start by adjusting the exposure. Dark and moody photos often have lower overall brightness, so reduce the exposure slightly to create deeper shadows.
- Enhance Contrast
Increase contrast to make the dark areas darker and the light areas pop. Use the contrast slider in your editing software to achieve this effect. Be careful not to overdo it, as this can result in a loss of detail.
- Play with Shadows and Highlights
Use the shadow and highlight sliders to fine-tune the balance between dark and light areas in your image. You want to maintain some details in the shadows while still achieving the desired mood.
- Desaturate Colors
Dark and moody photos typically have muted colors. Desaturate the image slightly to achieve this effect. You can also adjust the individual color channels to fine-tune the color balance.
- Add Vignette
A subtle vignette can draw the viewer's attention to the center of the image and enhance the overall mood. Most editing software offers a vignette tool that allows you to darken the edges of your photo.
- Experiment with Textures
Adding textures can give your dark and moody photos an extra layer of depth. You can do this by overlaying textures and adjusting their opacity to blend them seamlessly with your image.
- Final Touches
After you've made all the necessary adjustments, take a step back and evaluate your image. Fine-tune any details that need attention, and make sure the overall mood aligns with your vision.
Dark and moody photography is a captivating style that can help you convey emotions, tell stories, and create stunning visual experiences. By following the steps outlined in this blog post, you can master the art of dark and moody editing in photography. Remember, practice makes perfect, so keep experimenting and refining your skills to create truly compelling and evocative images. Happy shooting! Also a great way to get a dark moody look on any photo in one click is to use Adobe Lightroom Presets Available Here For Professional Editing
